Your content might be insightful, entertaining, and expertly produced—but if your lighting is grainy or flat, viewers will click away before they hear a word. Poor lighting instantly signals “amateur,” undermining your authority and weakening your message. This guide is designed to change that. We break down studio video lighting techniques into clear, practical steps you can apply in any space, whether you’re filming in a dedicated studio or a compact home setup. You’ll learn how to shape light for depth, eliminate harsh shadows, and create crisp, professional visuals that capture attention and keep your audience engaged.
The Blueprint: Mastering the 3-Point Lighting Setup
If you’ve ever wondered why some videos look cinematic while others feel flat, it often comes down to one thing: LIGHT PLACEMENT.
The Key Light is your primary light source—the brightest and most influential. Place it about 45 degrees to the side of your subject and 45 degrees above eye level. This angle creates dimension by forming natural shadows along the face. For example, in an interview setup, position the key slightly above the camera line to avoid harsh under-eye shadows (no one wants accidental horror-movie vibes).
The Fill Light softens the shadows created by the key. It should be less intense—typically half the brightness. Don’t eliminate shadows entirely; contrast adds depth. A simple reflector can work if you don’t have a second light. Pro tip: Adjust fill intensity until facial features look natural, not washed out.
The Backlight (or Hair Light) sits behind and above the subject, aimed at the back of the head and shoulders. It creates a subtle rim of light that separates the subject from the background, preventing a flat, 2D look.
Think of these studio video lighting techniques as a triangle working in harmony. When balanced, they sculpt your subject with clarity and polish. For more setup insights, explore https://ustudiobytes.com/.
Soft Light vs. Hard Light: The Secret to Flattering Video
Light has texture. Hard light feels sharp and unforgiving, like noon sun cutting across your face, carving out every pore and wrinkle. Soft light, by contrast, wraps around your features like a gentle glow from a window on a cloudy morning. The difference? Size. The larger the light source relative to your subject, the softer the light appears.
Some argue hard light looks dramatic and cinematic—and it can. Think intense interrogation scenes in crime dramas. But for most talking-head videos, soft light is more forgiving, smoothing skin and creating that polished, studio-ready look (the kind that makes you think, “Did they hire a glam squad?”).
To create soft light, use diffusion:
- Softboxes
- Umbrellas
- Bounce cards
On a budget? Bounce light off a white wall or hang a thin white sheet in front of a lamp. Pro tip: keep diffusion a safe distance from hot bulbs.
Mastering studio video lighting techniques starts with controlling softness.
Controlling Color: White Balance and Creative Temperature
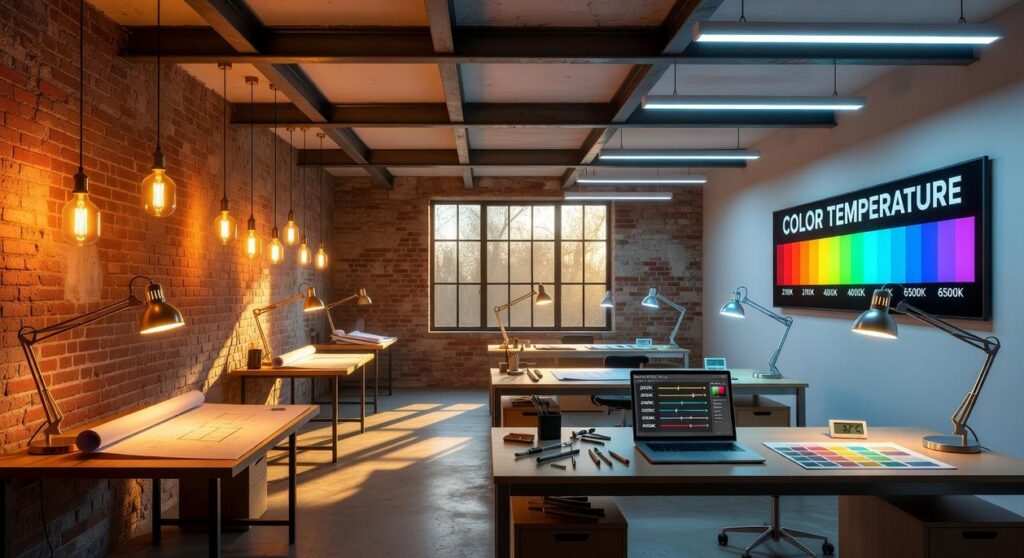
What Is Color Temperature?
Color temperature refers to how warm or cool light appears, measured on the Kelvin (K) scale. Lower values (around 2700K) produce warm, orange-yellow tones—think cozy living room lamps. Higher values (5000K–6500K) create cool, blue tones similar to daylight. Understanding this scale helps you predict how skin tones and backgrounds will render on camera.
The Mixed Lighting Problem
However, problems arise when you mix light sources. For example, daylight from a window (cool) combined with an incandescent bulb (warm) often creates strange orange and blue patches. Cameras struggle to balance both, resulting in unflattering color casts.
Setting Your White Balance
To fix this, set a custom white balance. Place a neutral gray or white card under your main light, select custom WB in-camera, and calibrate. This ensures accurate, natural-looking skin tones—a core step in studio video lighting techniques.
Creative Color
Finally, you can intentionally shift mood using colored gels on backlights or backgrounds. Blues feel cinematic; ambers feel intimate. For even better results, review your acoustic treatment basics for clearer recordings.
Common Lighting Mistakes and How to Fix Them Instantly
Even high-end cameras can’t save BAD lighting. In fact, poor lighting is one of the top reasons viewers click away—Wistia reports that video quality (especially lighting clarity) directly impacts perceived professionalism and trust (Wistia Video Marketing Report).
Problem: “Raccoon Eyes”
Dark shadows under the eyes usually happen when your key light is too low or too frontal. Raise the height of your key light or add a reflector from below. This mimics natural sunlight angles (think midday outdoor lighting) and restores dimension instantly. Pro tip: A simple white poster board can work as a budget reflector.
Problem: Flat, Boring Background
When your subject blends into the wall, the image looks lifeless (like a DMV photo). Add a dedicated background light or use your backlight to create separation. Depth increases perceived production value—something confirmed in multiple studio video lighting techniques comparisons across YouTube production case studies.
Problem: Unwanted Glare on Glasses
Glare happens because light reflects at equal angles (basic physics). Raise the key light higher and move it further to the side to shift the reflection path.
Problem: The “Hostage Video” Look
A single harsh overhead light creates dramatic, unflattering shadows. Turn it OFF. Build a balanced 3-point setup instead.
Small adjustments. BIG difference.
Great lighting doesn’t have to mean expensive lighting. Let’s break it down clearly.
The No-Budget Setup: Place subject facing a window; this becomes key light (main light source). Bounce shadows away with foam board as fill (a softer secondary light). Simple, effective, free.
The Starter Kit (~$150): A two-point LED panel kit includes two lights, stands, and diffusion (a material that softens beams). This setup mirrors studio video lighting techniques without complexity.
The Prosumer Upgrade: COB (Chip on Board) lights like the Godox SL or Aputure Amaran series deliver output and accept softboxes for control.
Pro tip: prioritize quality first.
Take Control of Your Image
You came here to fix frustrating lighting problems, and now you understand the fundamentals behind professional-looking results. With the right studio video lighting techniques, you’re no longer guessing—you’re shaping light with intention.
Remember, powerful visuals aren’t created by expensive equipment. They’re created by control, positioning, and purpose. Bad lighting makes great ideas look amateur. Controlled lighting makes simple setups look exceptional.
You’ve shifted from reacting to poor lighting to designing your image deliberately.
Now take action: for your very next video, adjust just one thing—your key light’s position. Test, refine, and watch the difference. Small changes create dramatic results. Start today and take control of your image.